INventor and Tinkercad
|
|
Our first assignment was to create six 'widgets' on our design software. This page will show you how I created one of mine, as well as the end products of the other five.
|
|
|
|
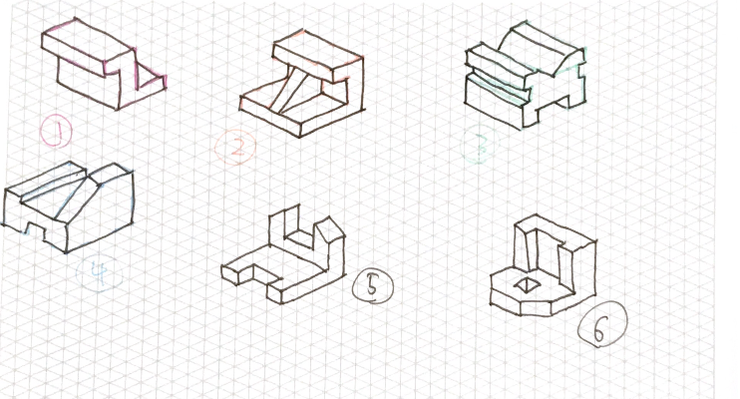
Sketching on Isometric Graphs |
|
|
|
Before doing anything on a computer, we first had to sketch the designs by hand on special graph paper. This graph paper is designed in a way that whatever is sketched on it appears to be 3 dimensional, as the viewer can see the length, width, and depth of the object. These drawings are the first step to making any design, like a blueprint for a house.
|
|
DEsigning a Widget
|
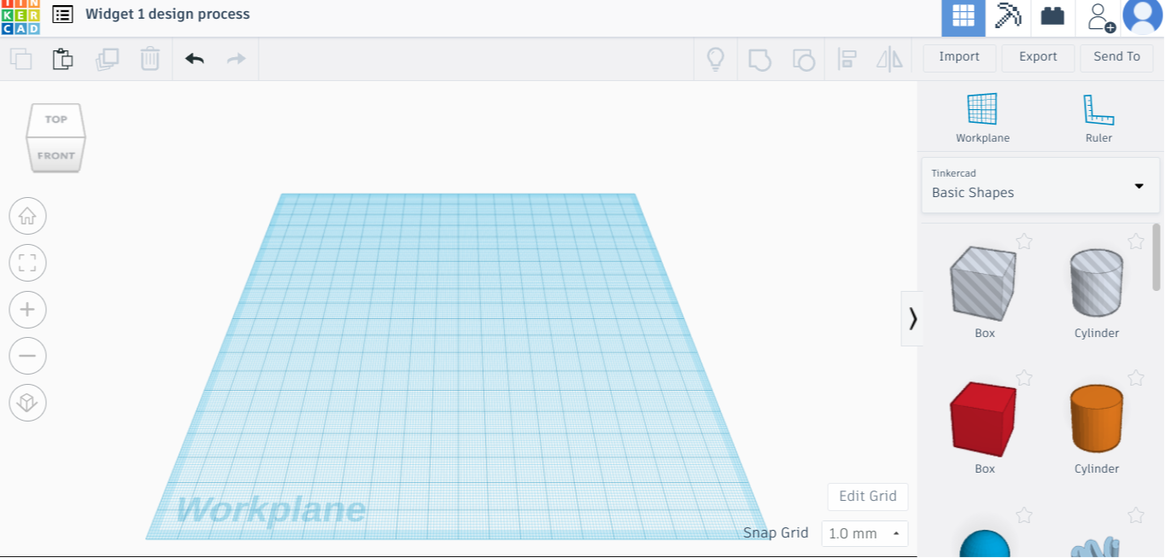
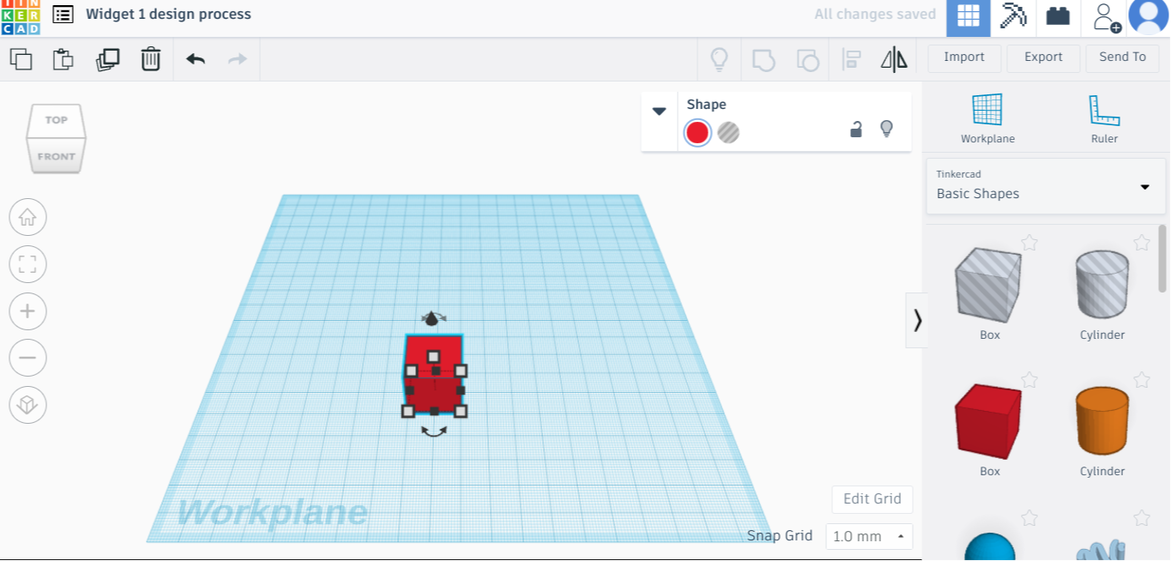
Step 1: open a new, blank document.
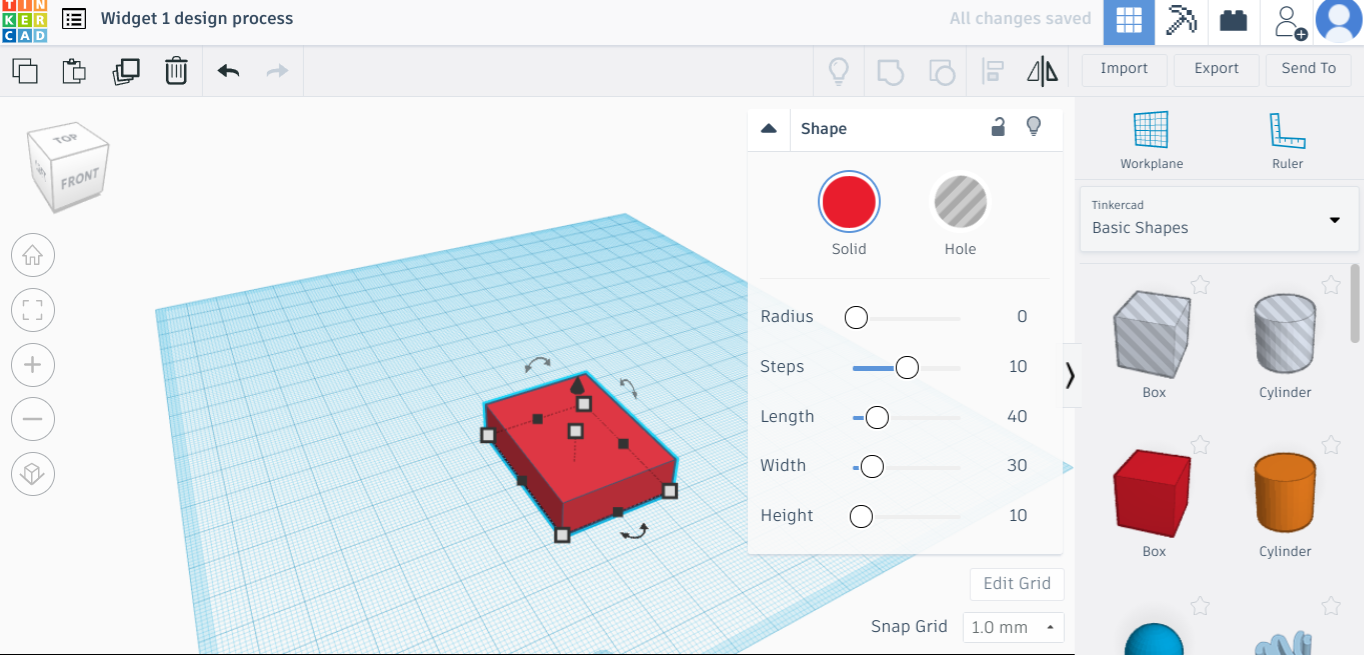
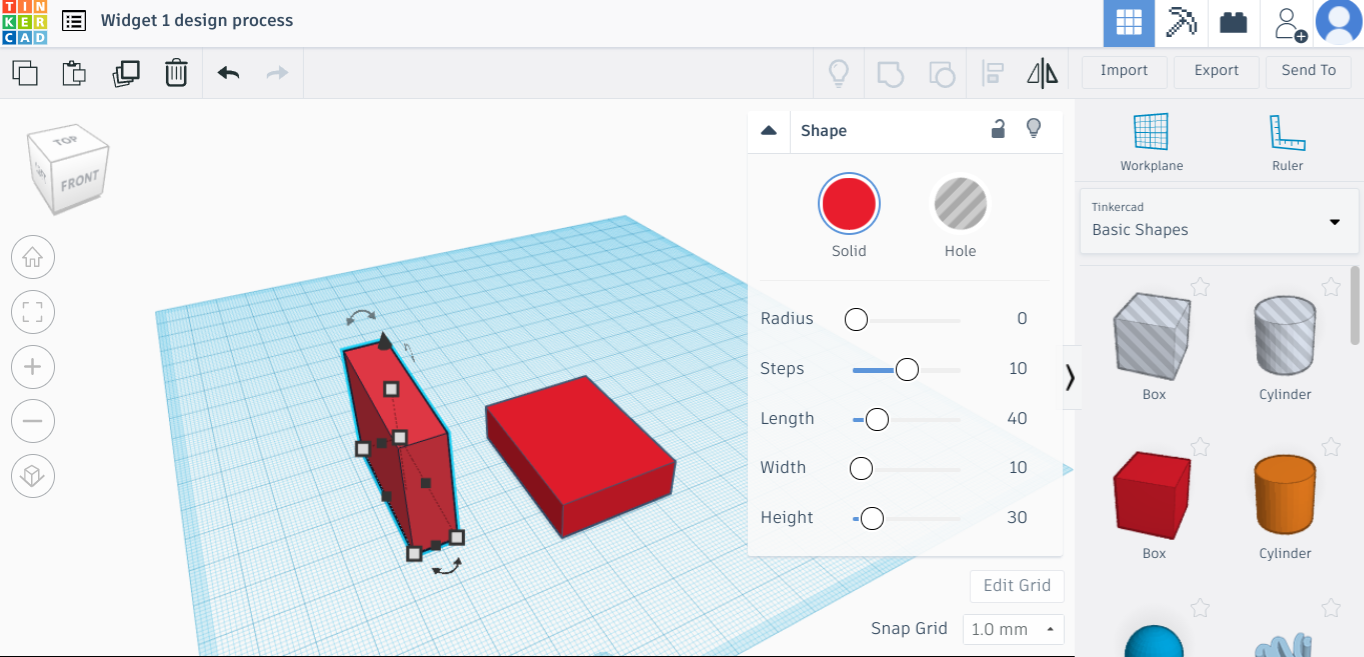
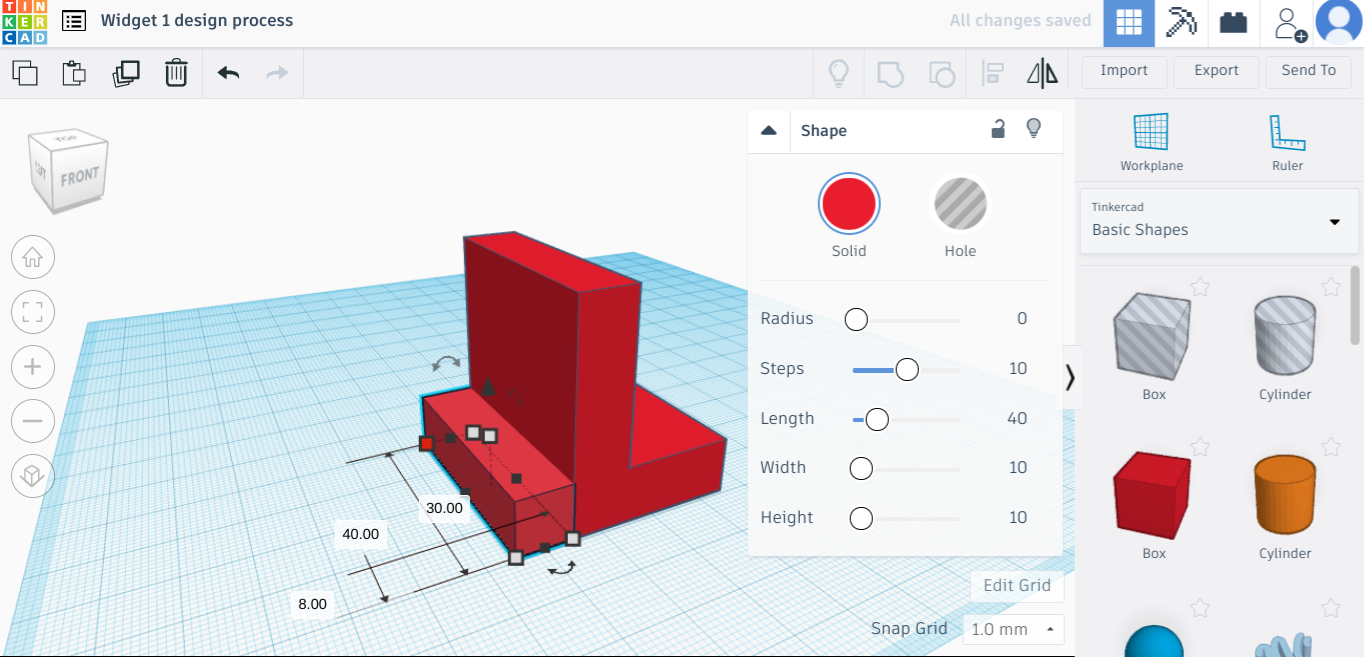
Step 3: resize the base to your desired dimensions.
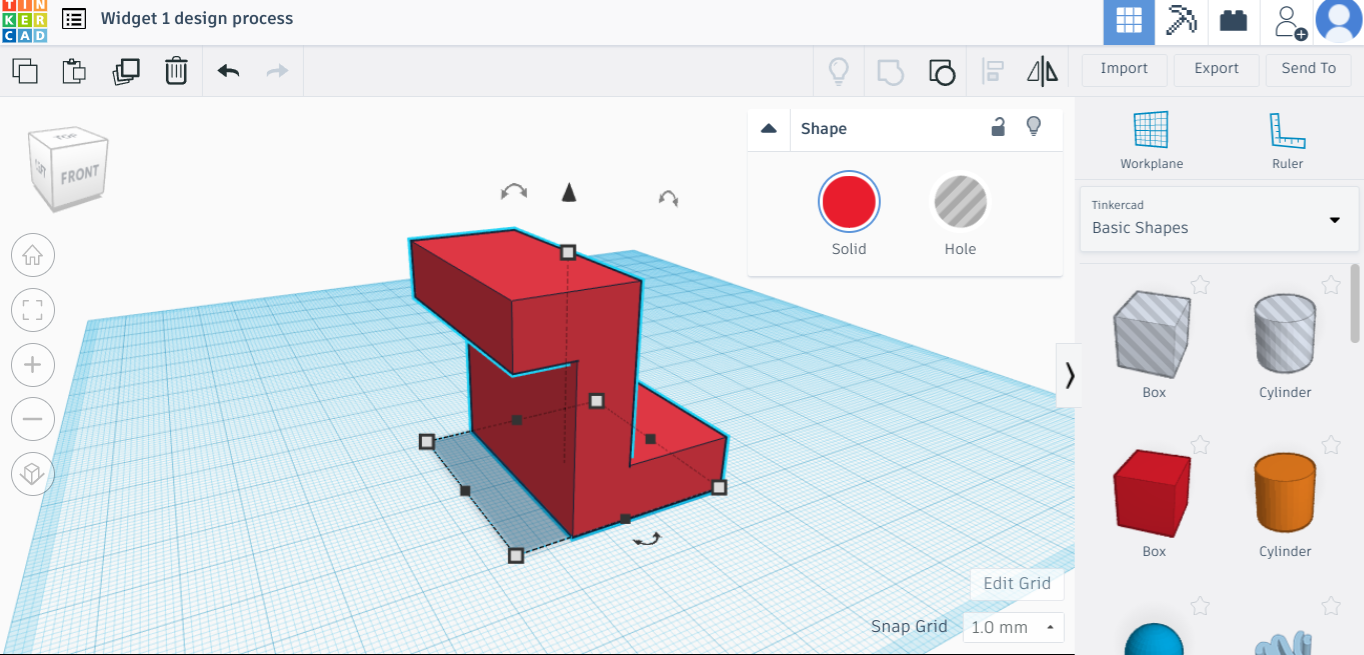
Step 5: align second part on the plane. Make sure that it is where you want it, but don't worry about raising it above or below your first shape yet.
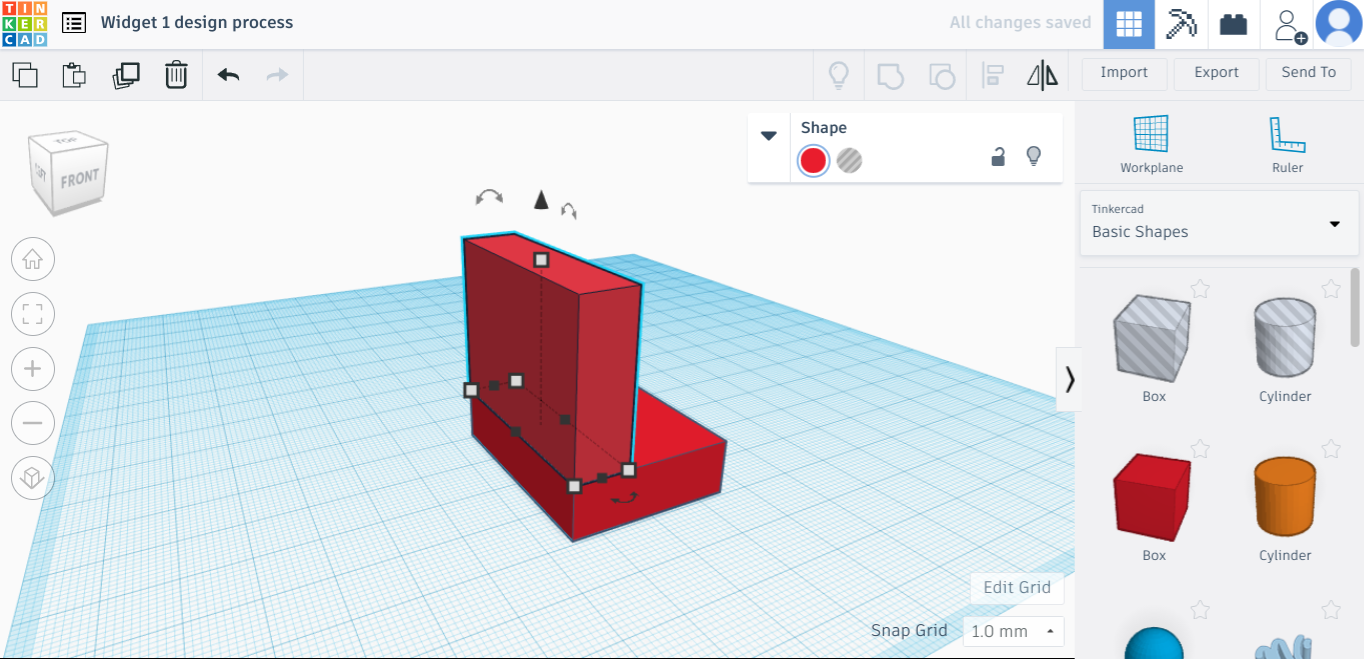
Step 7: lock the shapes together. To do this, select both shapes and group them together using the button on the top bar. It is to the right of the light bulb icon. By grouping your shapes together, you can move them together without separating them because they now are identifiable as a single shape.

Step 9: raise to desired height.
|
Step 2: pick a shape to start with. Preferably one that acts as your design's base.
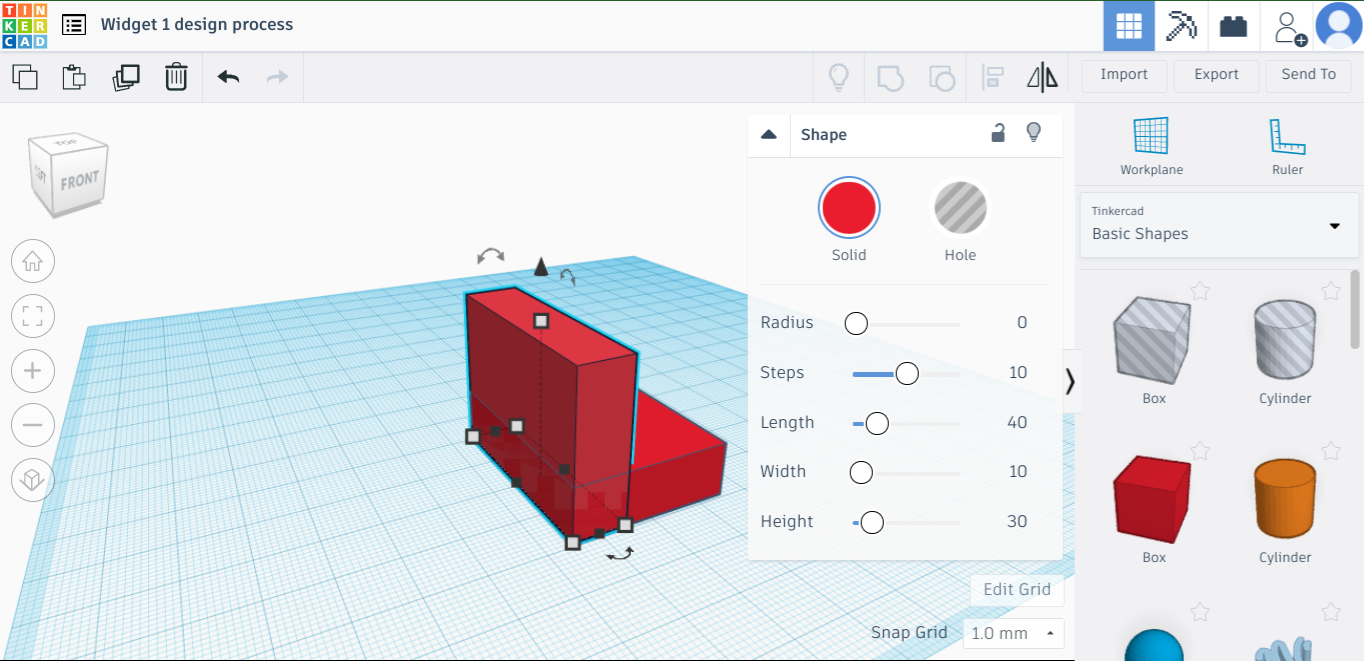
Step 4: create the second part of your design. Make sure its dimensions are as desired.
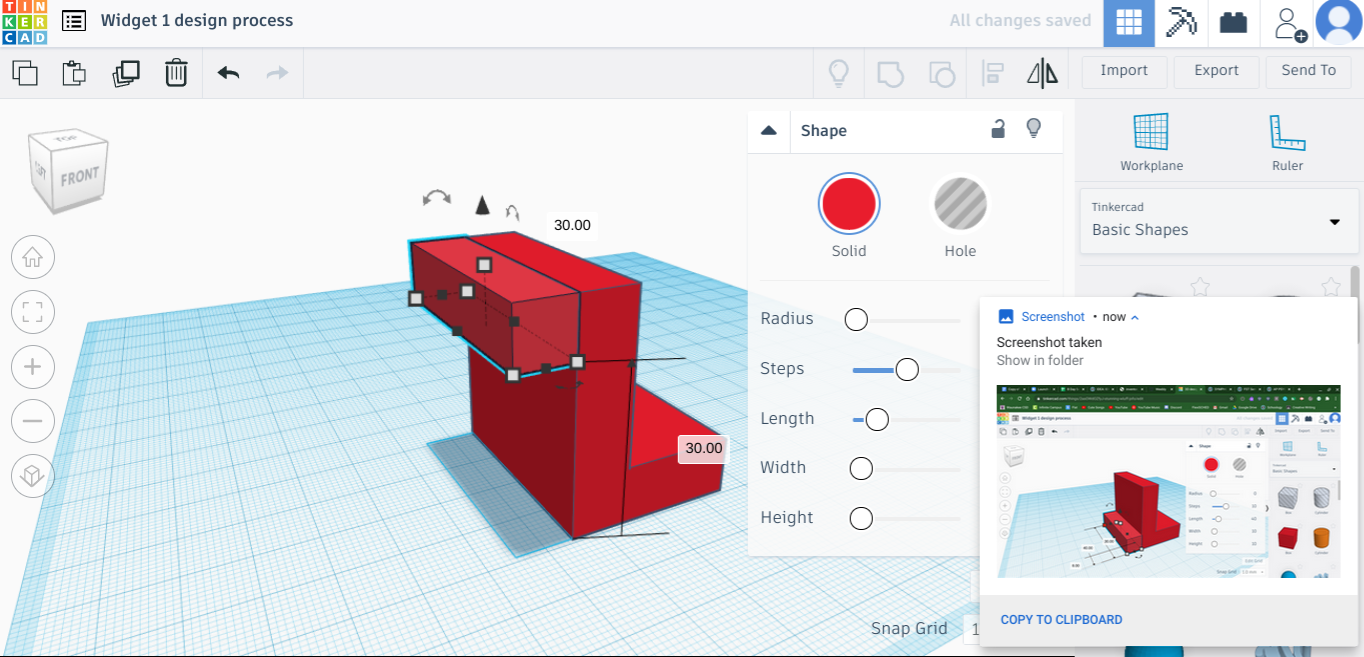
Step 6: once you have it aligned where you want it, use the cone/arrow above the shape to raise or lower your shape to the desired height.
Step 8: make the last shape, set to desired dimensions, and align on the plane.
Step 10: lock shape in place by grouping everything together. All three shapes will now count as a single object.
|
All Done!
|
|
If you would like, you can change the name of your object so that it's easier to identify on the dashboard.
|
|
|
|
Here are the final results of all six of the widgets.
I made a mistake in one of them. Can you see which one it is? |
|
